
Adding text to videos is a crucial element in video production as it enhances the overall viewing experience for the audience. Text overlays can provide important information, convey messages, highlight key points, and create a visually appealing presentation. Whether you are creating a promotional video, tutorial, or social media content, incorporating text can significantly improve the impact and effectiveness of your videos.
Benefits of using Kinemaster for text overlays
Kinemaster is a popular video editing app that offers a wide range of features and tools for adding text overlays to your videos. Here are some of the benefits of using Kinemaster for this purpose:
- User-friendly interface: Kinemaster has an intuitive and user-friendly interface that makes it easy for beginners to add text to their videos.
- Customization options: With Kinemaster, you can customize the font, size, color, and position of the text to suit your creative vision.
- Layering capability: Kinemaster allows you to add multiple layers of text, images, and effects, giving you more control over the visual elements of your video.
- Easy audio integration: In addition to adding text, Kinemaster also enables you to incorporate audio into your video seamlessly.
- Export options: Once you have added text to your video, Kinemaster provides various export options, allowing you to save and share your final product with ease.
Overall, Kinemaster is a powerful tool that simplifies the process of adding text to your videos, making it an ideal choice for both beginners and experienced video editors.
Downloading and installing Kinemaster
To add text to your videos using Kinemaster, you first need to download and install Kinemaster app on your device. Kinemaster is available for both Android and iOS devices and can be downloaded from the respective app stores. Simply search for “Kinemaster” and click on the download/install button to get started.
Basic overview of the Kinemaster interface
Once you have installed Kinemaster, open the app and familiarize yourself with the interface. The main screen consists of various icons and options that allow you to edit your videos in Kinemaster App. Here are a few key elements you will find on the Kinemaster interface:
- Media Browser icon: This icon, located in the upper right corner of the screen, allows you to access your media files, including videos, photos, and audio.
- Layer icon: By tapping on this icon, you can add different layers to your videos, such as text, images, and effects. To add text, select the “Add Text” option and customize the font, size, color, and position according to your preferences.
- Audio icon: This icon, represented by a music note, enables you to add audio to your video. You can either choose from the pre-loaded music in Kinemaster or import your own audio files.
With these basic steps and tools, you can easily add text to your videos using Kinemaster. Experiment with different fonts, colors, and effects to create engaging and professional-looking videos.
Selecting and Importing a Project
Choosing the project you want to add text to
To add text to a video using Kinemaster, you first need to open the app and select the project you want to work on. If you already have a project saved, simply tap on it to open it. If you are starting a new project, you can choose to create a video from scratch or import an existing video file.
Importing the video file into Kinemaster
Once you have selected the project, you need to import the video file that you want to add text to. To do this, tap on the Media Browser icon in the upper right corner of the screen. This will open up the media library where you can browse and select the video clip you want to use. Tap on the video clip to import it into your project.
Now that you have selected your project and imported the video file, you can proceed to add text overlays to your video using the steps mentioned in the previous section.
Adding Text to Your Video
Accessing the Media Browser in Kinemaster
To add text overlays to your video in Kinemaster, you will first need to access the Media Browser. Here’s how:
- Open the Kinemaster app on your device.
- Select the project you want to add text to.
- Look for the Media Browser icon, which is located in the upper right corner of the screen. It looks like a folder with a music note.
- Tap on the Media Browser icon to open up the media library.
Using the Layer icon to add text overlays
Once you have accessed the Media Browser, you can use the Layer icon in Kinemaster to add text overlays to your video. Follow these steps:
- Tap on the Layer icon, which is represented by a stack of squares. This will open up the layer options.
- Select the “Text” option from the list of layer types.
- A text editor will appear on the screen. Here, you can enter the text you want to add to your video.
- You can also customize the font, size, and color of the text by selecting the respective options in the text editor.
Adjusting font, size, and color of the text
After adding the text overlay, you can further customize its appearance by adjusting the font, size, and color. Here’s how:
- Tap on the text overlay to select it.
- A toolbar will appear at the top of the screen with various editing options.
- Use the options in the toolbar to modify the font, size, and color of the text.
- You can also adjust the position and duration of the text overlay by dragging it on the timeline.
By following these steps, you can easily add text overlays to your videos using Kinemaster. Experiment with different fonts, sizes, and colors to create visually appealing text effects.
Positioning and Styling Text
To enhance your video even further, you can adjust the position and style of the text overlays in Kinemaster. Here are some additional steps you can take:
Dragging and resizing the text box
After adding the text overlay, you can drag it to the desired position on the video. Simply tap on the text box and drag it using your finger. You can also resize the text box by selecting the edges and adjusting them accordingly.
Aligning and centering text
To align your text to a specific position, select the text overlay and tap on the alignment options in the toolbar. You can choose to align the text to the left, right, or center of the text box. This feature ensures that your text is properly aligned with your video content.
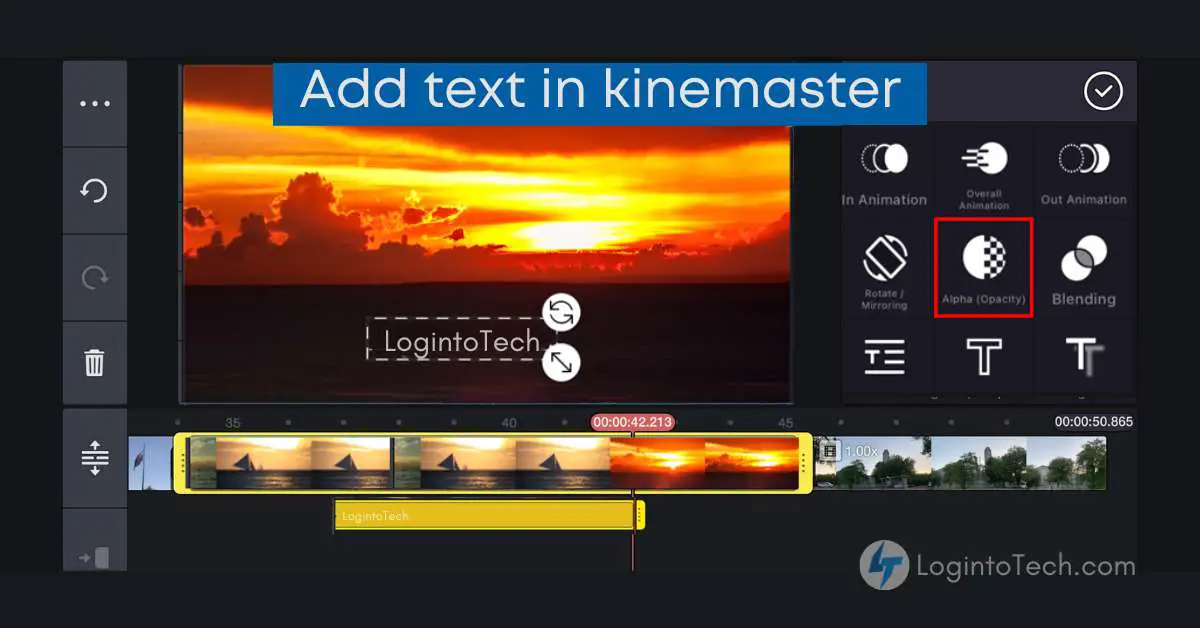
Applying text animations and effects
Kinemaster offers a range of text animations and effects to make your text overlays more dynamic and engaging. To apply animations, select the text box and tap on the “Animations” option in the toolbar. From there, you can choose from a variety of animation styles and customize the duration and timing of the animation.
By utilizing these positioning and styling options in Kinemaster, you can create visually captivating text overlays that enhance your videos and grab your audience’s attention. Experiment with different text styles, alignments, and animations to find the perfect combination for your video.
Editing and Fine-tuning
Cropping and resizing video frames
Once you have added text to your video using Kinemaster, you can further enhance your video by editing and fine-tuning it. Kinemaster allows you to resize and crop your video frames to fit your desired dimensions. Here’s how you can do it:
- Select the video clip you want to edit and tap on the Crop icon (the icon with two overlapping squares) in the toolbar.
- A frame will appear around your video clip, showing the current dimensions.
- To resize the video frame, tap and drag the corners or edges of the frame.
- To crop the video frame, tap and drag the sides or top/bottom of the frame.
- You can also adjust the position of the frame by tapping and dragging it.
- Once you’re satisfied with the new dimensions and position, tap on the checkmark icon to apply the changes.
By cropping and resizing your video frames, you can remove unwanted elements or adjust the composition of your video. This allows you to create a more visually appealing and focused video that effectively conveys your message.
Adjusting video speed and transitions
In addition to cropping and resizing, Kinemaster gives you the ability to adjust the speed of your video clips. This can be useful for creating slow-motion or fast-paced effects. Here’s how you can do it:
- Select the video clip you want to adjust and tap on the Speed icon (the icon with a stopwatch) in the toolbar.
- A slider will appear, allowing you to increase or decrease the speed of the clip.
- Drag the slider to the left to slow down the clip or to the right to speed it up.
- You can preview the changes by tapping on the Play button.
- Additionally, Kinemaster provides a wide range of transition effects to seamlessly merge different video clips. To apply a transition, select the clip and tap on the Transitions icon in the toolbar. From there, choose the desired transition style and adjust its duration if needed.
By adjusting the video speed and using transitions, you can create dynamic and engaging videos that keep your audience captivated throughout.
Adding audio effects and background music
To further enhance the audio of your video, Kinemaster offers various audio effects and the ability to add background music. Here’s how you can do it:
- Select the video clip you want to add audio effects to and tap on the Audio icon in the toolbar.
- From the audio options, you can adjust the volume, apply fade-in or fade-out effects, and add other audio enhancements.
- To add background music, tap on the Media Browser icon and select the desired audio file.
- Once the music is added to the project, you can adjust its volume, trim its duration, or even apply audio effects to it.
By adding audio effects and background music, you can create a more immersive and professional audio experience for your viewers.
In conclusion, Kinemaster provides a comprehensive set of tools for adding text overlays, editing video frames, adjusting speed, applying transitions, and enhancing audio. These features allow you to create high-quality videos with visually captivating text, smooth transitions, and engaging audio effects. Whether you’re a professional videographer or a beginner, Kinemaster offers a user-friendly interface and powerful editing capabilities to bring your videos to life.