
KineMaster is a popular video editing app for Android and iOS that empowers anyone to create professional-quality videos. Whether you want to trim clips, add music, use effects, or export in high quality, KineMaster makes video editing easy and accessible.
Why Is Video Editing Important?
In today’s digital world, video content dominates social media, marketing, and communication. Good video editing helps you grab attention, tell compelling stories, and make your content stand out on any platform. With KineMaster, you don’t need expensive software or a desktop computer—everything happens on your phone or tablet!
Key Features of KineMaster
- Multi-layer editing: Add text, images, stickers, and effects over your video.
- Chroma key (green screen): Replace backgrounds for unique scenes.
- Transitions: Smoothly move between clips with fade, slide, and more.
- Speed control: Create slow-motion or fast-forward effects.
- Audio editing: Add music, adjust volume, and record voiceovers.
- Instant preview: See your edits in real time before exporting.
Getting Started with KineMaster
- Download & Install: Find KineMaster in the Google Play Store or Apple App Store and install it.
- Open the app: Launch KineMaster and sign in (or create a new account).
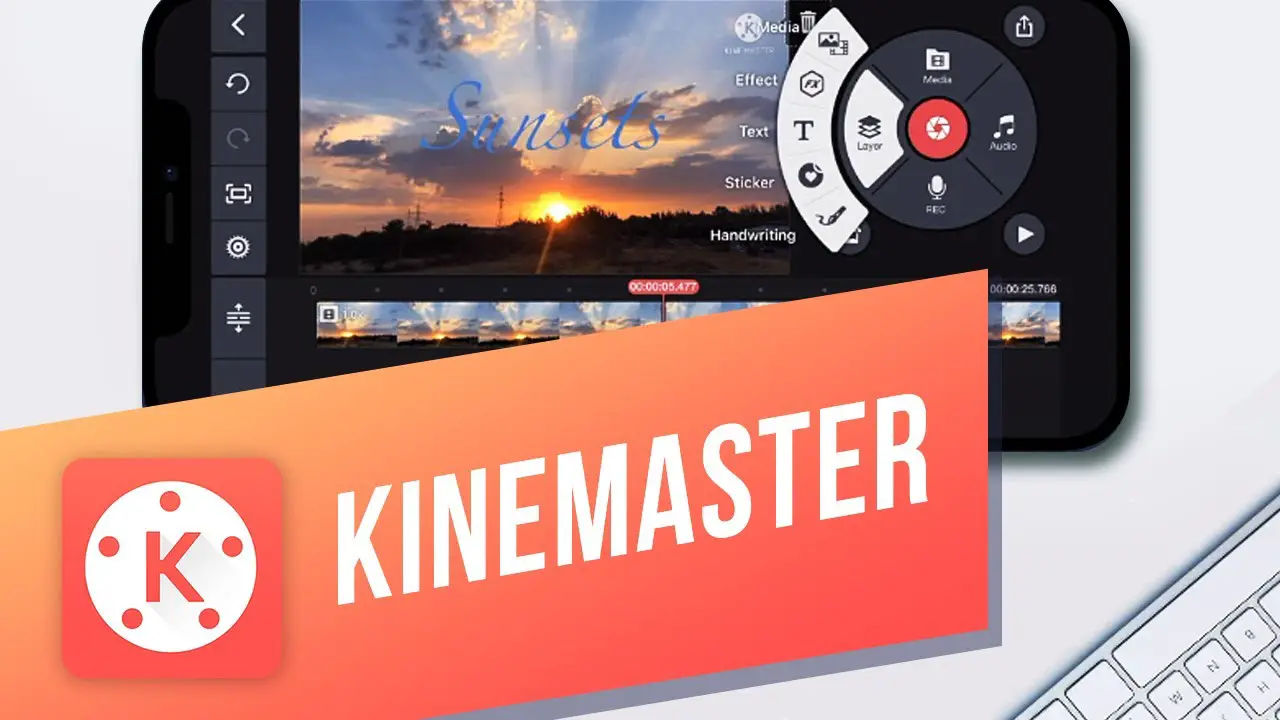
Exploring the User Interface
- The main screen shows your video timeline where you can arrange clips.
- The toolbar below gives you quick access to tools: media, layer, audio, voice, and more.
- Preview your edits in real time using the preview window at the top.
Importing and Organizing Your Clips
- Tap the Media button to import videos or photos from your gallery.
- Drag and drop clips in the timeline to arrange their order.
- Trim or split clips by selecting them and using the handles or scissors icon.
Editing and Enhancing Video Clips
- Trim, split, and cut: Tap a clip on the timeline, use the handles or the scissors tool to cut out unwanted parts or split into segments.
- Add effects and transitions: Tap the Layer or Transition button to apply visual effects or transitions like fade, slide, or dissolve.
- Adjust speed: Select a clip, then use the speed control to create slow motion or fast-forward effects.
- Color correction: Tap the clip and use the color tools to adjust brightness, contrast, and saturation.
Adding and Editing Audio
- Tap the Audio button to add music, sound effects, or voiceovers.
- Trim audio clips, adjust volumes, and sync with video as needed.
- Use fade-in/out effects for smooth audio transitions.
Enhancing Videos with Text and Overlays
- Tap Layer → Text to add captions, titles, or callouts.
- Customize font, color, size, and animation of your text.
- Overlay images, stickers, or animated graphics for extra flair.
Advanced Editing Techniques
- Chroma Key (Green Screen): Use the chroma key tool to change backgrounds and create special effects.
- Keyframe Animation: Animate layers, text, or effects for dynamic movement.
- Reverse video: Make actions appear backwards for creative effects.
Fine-Tuning and Exporting
- Make final adjustments to color, brightness, and other settings for a polished look.
- Tap Export and select your preferred resolution, format, and quality (MP4, MOV, etc.).
- Save to your device or share directly to YouTube, Instagram, or other platforms.
Tips for Efficient Video Editing in KineMaster
- Use multiple layers for creative edits—combine text, images, and effects.
- Organize clips with the storyboard or timeline for a smoother workflow.
- Preview your edits often and make use of the undo/redo buttons.
- Explore KineMaster’s asset store for extra transitions, music, and effects.
- Check official tutorials, YouTube, or forums for advanced tips and inspiration.
Frequently Asked Questions
Is KineMaster free to use?
KineMaster offers a free version with watermark and limited features. You can upgrade to KineMaster Premium for full access and watermark removal.
Can I use KineMaster on both Android and iOS?
Yes! KineMaster is available for both Android and iOS devices.
Does KineMaster support 4K video editing?
Absolutely. KineMaster supports editing and exporting videos in 4K resolution (device-dependent).
Where can I learn more about advanced KineMaster features?
Check KineMaster’s official YouTube channel, online courses (Udemy, Coursera), and editing forums for tutorials and inspiration.
Conclusion
KineMaster makes video editing simple—even for beginners. With its powerful features and user-friendly interface, you can create high-quality videos for any purpose. Download KineMaster today and start editing like a pro!