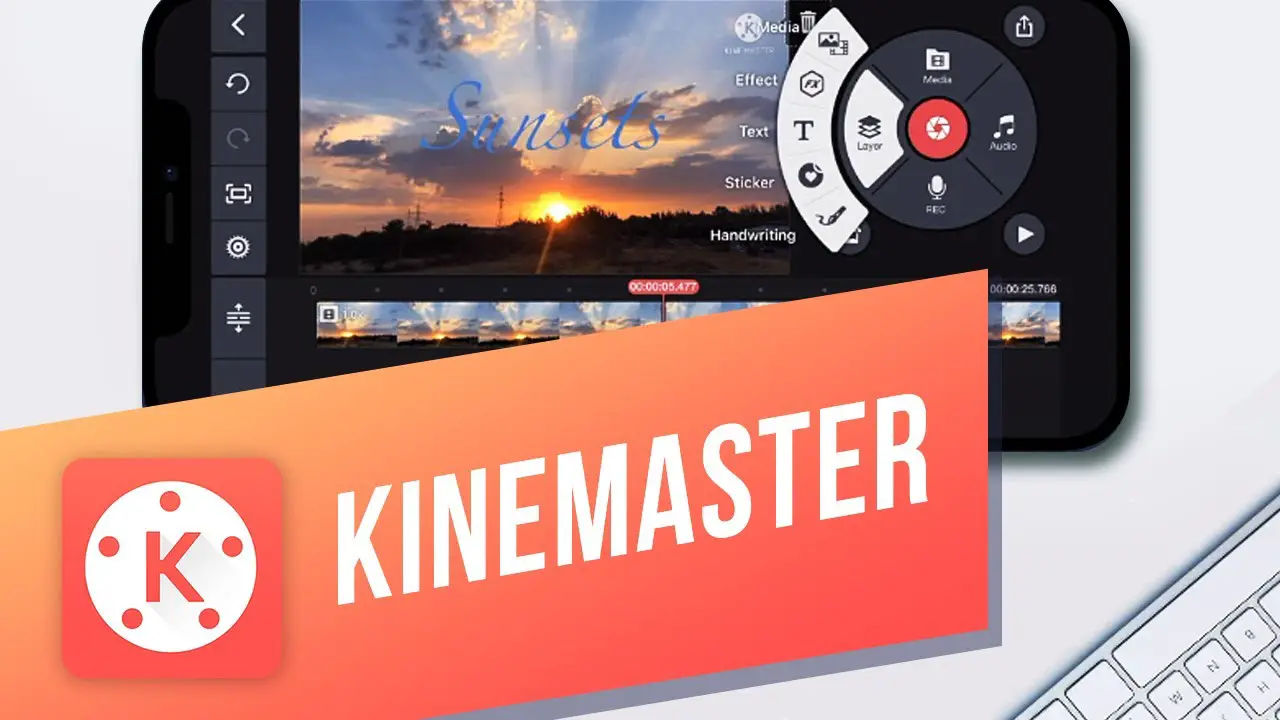
Kinemaster is a popular app used for video editing on Android and iOS devices. It offers a wide range of features and tools that make it easy for users to create professional-quality videos.
Advantages of using Kinemaster for video editing
- User-friendly interface: Kinemaster has a simple and intuitive interface that makes it easy for beginners to edit videos.
- Multiple layers: The app allows users to add multiple layers of videos, images, text, and stickers to their projects, giving them more flexibility and creative control.
- Wide range of editing tools: Kinemaster offers a variety of editing tools, such as trim, crop, add audio, adjust brightness, and apply filters, allowing users to enhance their videos.
- Real-time preview: With Kinemaster, users can preview their edits in real-time, making it easier to make adjustments and see how the final video will look.
- Multiple export options: The app supports various video formats and resolutions, giving users the flexibility to export their videos in the desired quality.
- Wide range of effects: Kinemaster offers a library of effects, transitions, and animations that users can apply to their videos to enhance the visual appeal.
- Speed control: The app allows users to control the speed of their videos, enabling them to create slow-motion or time-lapse effects.
- Social media integration: Kinemaster allows users to directly share their edited videos on popular social media platforms like YouTube, Instagram, and Facebook.
- Multi-track audio editing: Users can add and adjust multiple audio tracks, including voiceovers, background music, and sound effects.
- Support for 4K video editing: Kinemaster supports editing and exporting videos in 4K resolution, ensuring high-quality output for professional-level projects.
Getting Started with Kinemaster App
Installing and setting up Kinemaster on your device
To get started with Kinemaster, simply download and install the app from the Google Play Store or the Apple App Store. Once installed, open the app and sign in or create a new account to access all the features and tools.
Navigating the Kinemaster interface
The Kinemaster interface is designed to be user-friendly and intuitive. The main screen displays the project timeline, where users can add and arrange their media files. The toolbar at the top provides quick access to editing tools such as trim, crop, and add effects. The preview screen allows users to view their edits in real-time.
Getting Started with Kinemaster App
Installing and setting up Kinemaster on your device
To get started with Kinemaster, download and install the app from the Google Play Store or the Apple App Store. Open the app, sign in or create a new account to access all the features and tools.
Navigating the Kinemaster interface
The Kinemaster interface is user-friendly and intuitive. The main screen displays the project timeline where users can add and arrange media files. The toolbar at the top provides quick access to editing tools such as trim, crop, and add effects. The preview screen allows users to view edits in real-time.
Importing and Trimming Video Clips
Importing video clips into Kinemaster
To import video clips into Kinemaster, navigate to the media library and tap on the import button. Choose the desired video file from your device’s storage and it will be added to the project timeline for editing.
Trimming and cutting video clips in Kinemaster
To trim or cut a video clip in Kinemaster, select the clip on the timeline. Use the trim handles to adjust the start and end points of the clip. Preview the trimmed clip to make sure it looks how you want before saving your edits.
Getting Started with Kinemaster App
Installing and setting up Kinemaster on your device
To begin using Kinemaster, you can easily download and install the app from either the Google Play Store or the Apple App Store. Once installed, open the app and either sign in with your existing account or create a new one. This will grant you access to all of the app’s features and tools.
Navigating the Kinemaster interface
The user interface of Kinemaster is designed to be user-friendly and intuitive. The main screen showcases the project timeline where you can add and arrange media files. Located at the top is a toolbar that offers quick access to a variety of editing tools, including trim, crop, and add effects. The preview screen allows you to view your edits in real-time.
Importing and Trimming Video Clips
Importing video clips into Kinemaster
To import video clips into Kinemaster, simply navigate to the media library and tap the import button. From there, choose the desired video file from your device’s storage, and it will be added to the project timeline for further editing.
Trimming and cutting video clips in Kinemaster
When it comes to trimming or cutting a video clip in Kinemaster, the process is straightforward. Select the clip on the timeline and use the trim handles to adjust the start and end points accordingly. You can then preview the trimmed clip to ensure it meets your desired outcome before saving your edits.
Applying Transitions and Effects
Adding and customizing transitions between video clips
To enhance the flow between video clips, Kinemaster offers a range of transitions that can be easily applied. Simply choose the desired transition style from the options available in the app and apply it to the transition point between clips. You can also customize the duration and other settings of the transition to achieve the desired visual effect.
Enhancing your videos with visual effects in Kinemaster
Kinemaster provides users with a variety of visual effects to enhance their videos. From adjustments to color, saturation, and brightness to the addition of filters and overlays, you can easily experiment and customize the appearance of your videos. These effects can be accessed through the editing tools in the app and applied to your clips with just a few taps.
Adjusting Speed and Duration
Changing the speed and duration of video clips in Kinemaster
To change the speed and duration of video clips in Kinemaster, simply select the desired clip on the timeline and tap the speed icon. From there, you can adjust the speed of the clip, either by slowing it down or speeding it up. You can also change the duration of the clip by trimming it or extending it as needed.
Creating slow motion or time-lapse effects
Kinemaster allows you to create slow motion or time-lapse effects in your videos easily. To create a slow-motion effect, select the clip on the timeline and tap the speed icon. Then, decrease the speed of the clip to a desired value. For a time-lapse effect, increase the speed of the clip. Preview the effect and make any necessary adjustments before saving.
Adding Text and Titles
Adding text overlays and titles to your videos in Kinemaster
To add text overlays and titles to your videos in Kinemaster, tap on the “Text” option in the media panel. Select the desired text style and enter the desired text in the text field. Adjust the position, size, color, and transparency of the text as needed.
Customizing the appearance and animation of text
Kinemaster offers various customization options for text appearance and animation. You can change the font style, size, color, and alignment of the text. Additionally, you can apply animation effects such as fade in, fade out, and scrolling to make the text more dynamic and engaging. Preview the changes before saving.
Incorporating Audio and Music
Importing and editing audio tracks in Kinemaster
To include audio tracks in your Kinemaster videos, tap on the “Audio” option in the media panel. Choose your desired audio file from your device’s library and import it into the project. Trim the audio track if necessary by adjusting the start and end points. You can also split the track and delete unwanted sections.
Adding background music and adjusting volume levels
To add background music to your video, follow the same steps as importing an audio track. Select a suitable music file and import it. Adjust the volume level of the music by dragging the audio track’s slider. You can also adjust the volume level of other audio elements in your video, like dialogue or sound effects, to create a balance.
It’s important to ensure that the audio you include in your videos is appropriate and royalty-free.
Exporting and Saving Your Edited Video
Options for exporting and saving your edited video in Kinemaster
To export your edited video in Kinemaster, tap on the “Export” button in the top-right corner of the screen. You will then be presented with different export options, such as resolution, frame rate, and video quality. Choose the desired settings and tap on the “Export” button to save your video to your device’s gallery.
Choosing the appropriate video settings for different platforms
When exporting your video for different platforms, it’s important to select the appropriate video settings to ensure optimal playback and compatibility. For example, if you are exporting for social media platforms like Instagram or TikTok, you may want to choose a square or vertical aspect ratio. Consider the platform’s recommended video specifications for the best results.
Tips and Tricks
Useful tips and tricks for cutting videos efficiently in Kinemaster
- Utilize the “split” tool to easily cut and remove unwanted sections of your video.
- Take advantage of the timeline feature to precisely trim and rearrange clips.
- Experiment with different transitions and effects to enhance your video’s visual appeal.
- Use the speed adjustment feature to create slow-motion or fast-forward effects.
- Make use of the multi-layer feature to overlay text, images, or stickers onto your video.
Common troubleshooting issues and solutions
Issue: Audio is out of sync with the video.
Solution: Try adjusting the audio synchronization settings or re-importing the video and audio files.
Issue: Exported video is blurry or pixelated.
Solution: Ensure that you are exporting at the highest resolution and video quality settings available. Additionally, check the original video file for any quality issues.
Issue: App crashes or freezes during editing.Solution: Close any unnecessary apps running in the background, clear cache, and restart your device. If the issue persists, consider reinstalling the Kinemaster app.
Issue: Error message when exporting the video.Solution: Check if your device has sufficient storage space available. If not, clear some space and try exporting again. Also, ensure that you have a stable internet connection during the export process.
Issue: Imported media files are not recognized by Kinemaster.Solution: Ensure that the media files are in a compatible format and stored in a location accessible by Kinemaster. If necessary, convert the files to a compatible format using video conversion software.