
Changing the background in your videos can make your projects more eye-catching, professional, and fun. With KineMaster, you can easily replace backgrounds, remove unwanted objects, or make your video transparent—all right from your phone or tablet. Here’s how to do it, with or without a green screen!
Why Change Background in Video Editing?
- Boost video quality: Swap out boring or distracting scenes for eye-catching backgrounds.
- Creative freedom: Easily add new environments, effects, or overlays.
- Remove distractions: Focus your audience’s attention on what matters most.
- Professional results: Impress viewers for business, tutorials, or personal projects.
What is Chroma Key in KineMaster?
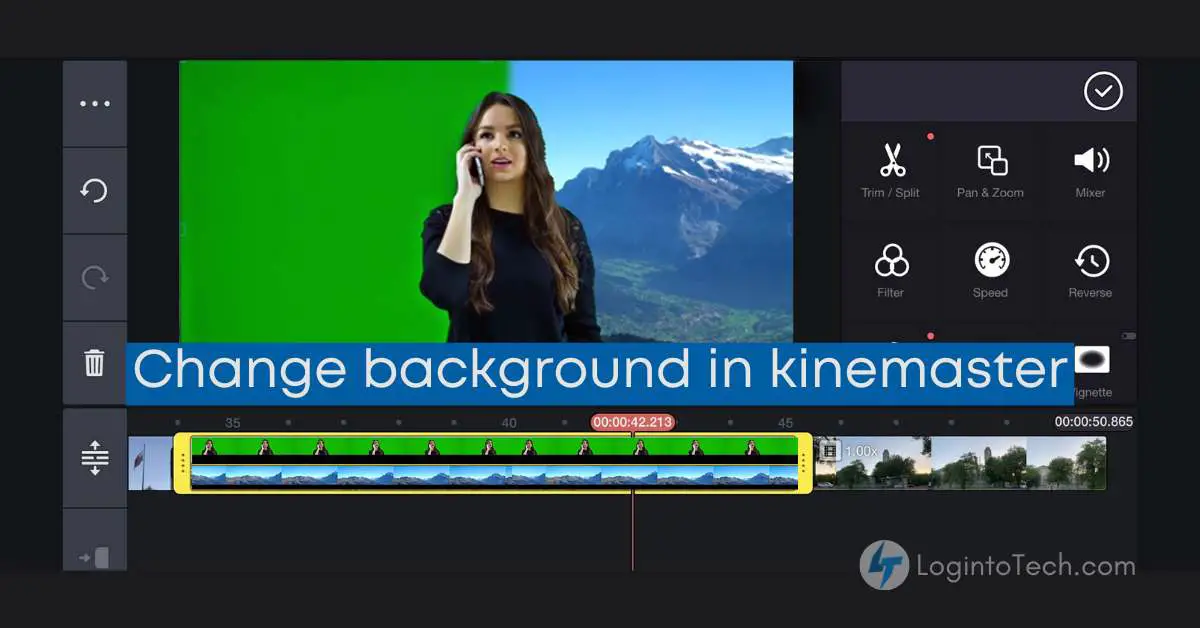
Chroma Key is a powerful feature in KineMaster that lets you remove a specific color (usually green or blue) from your video. This makes that color transparent, so you can insert any image, video, or background you want—even if you didn’t use a green screen!
- No green screen needed: Works with any solid color background.
- Easy to use: Simple controls for precise background removal.
- Professional results: Seamless background changes for all skill levels.
How to Change Background in KineMaster (With or Without Green Screen)
- Open KineMaster and start a new project or select an existing one.
- Import the new background image/video:
- Tap the Media icon and add the picture or video you want as your new background to the main timeline.
- Add your main video as a layer:
- Tap the Layer icon → Media and select your main video.
- Enable Chroma Key:
- Select the video layer you just added.
- Find the Chroma Key option (usually in the right-side menu or timeline options).
- Turn on Chroma Key and use the color picker to select the background color you want to remove (green, blue, etc.).
- Adjust the Intensity and Edge sliders for the best result.
- Preview and fine-tune:
- Play your video to see how the new background looks.
- Drag, resize, or reposition layers as needed for a perfect fit.
- Export your video:
- Once you’re happy, tap the Export or Share button to save or upload your finished video.
How to Change Background in KineMaster Without a Green Screen
- Choose a video with a solid background color (doesn’t have to be green).
- Follow the steps above to add your background and video to the timeline.
- Use Chroma Key to remove the solid color background from your video layer.
- Adjust the settings for a clean, natural-looking result.
- Export and share your video with its brand-new background!
Using the Transparent Function in KineMaster
- Create overlays: After using Chroma Key, your subject can have a transparent background, perfect for placing them over new scenes or graphics.
- Blend videos: Combine multiple videos or overlays seamlessly for unique effects.
Pro Tips for Background Editing in KineMaster
- Choose high-contrast background colors for easier removal.
- Fine-tune Chroma Key sliders for the cleanest cutout.
- Use high-quality images or videos for your new background.
- Preview your edits on a large screen before exporting.
- Experiment with text, stickers, and effects for a creative touch.
Frequently Asked Questions
Can I change the background in KineMaster without a green screen?
Yes! As long as your video has a solid background color, you can use Chroma Key to remove it and add any new background you like.
Where is the Chroma Key feature in KineMaster?
After selecting your video layer, look for the Chroma Key option in the right-side menu or near the timeline. It’s usually next to the Out Animation settings.
How do I make a video background transparent in KineMaster?
Use Chroma Key to remove the background color. The transparent area can then be placed over any new background or used as an overlay in your project.
Does KineMaster work for advanced background edits?
Absolutely. KineMaster offers advanced Chroma Key controls, multiple layers, and fine-tuning for professional-quality background changes.
Final Thoughts
With KineMaster’s Chroma Key and transparent functions, changing backgrounds is quick, easy, and fun. No green screen? No problem! Try these steps and give your videos a fresh, creative look.